Pencil practice
Pencil shading for beginners: start with three values
By Draw AI journal · · 3 min read
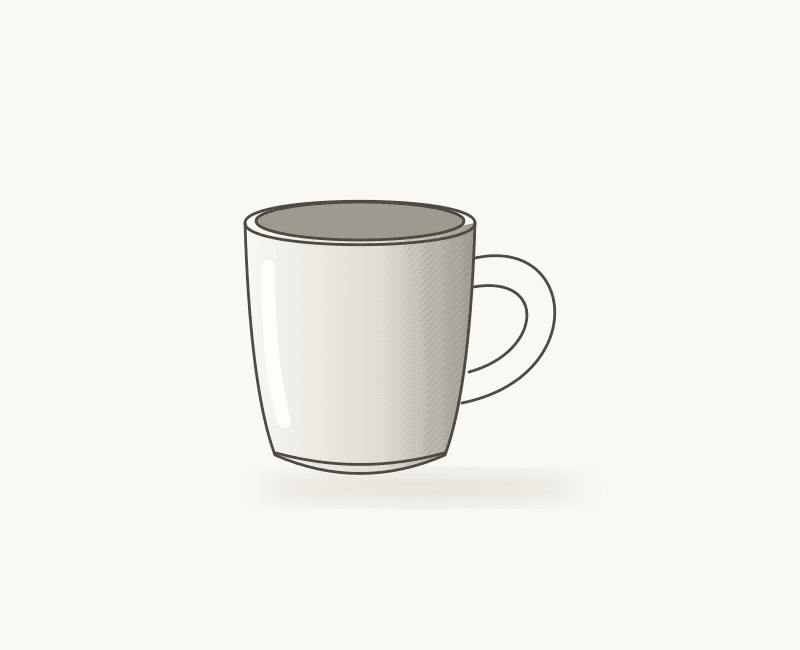
Illustration from our curated sample lesson.
Shading becomes easier to organise when you think in groups. Before chasing small reflections or surface marks, divide your reference into a few broad values: the light parts, the middle tones and the darkest shapes. You can refine them later.
Make a small value scale
Draw three small squares on spare paper. Leave one nearly white, fill one with a gentle middle tone, and build a darker third square with several layers. You can do this with an ordinary pencil; a large set of grades is optional.
Use the exercise to feel how much pressure you need. Let layers create the dark area, rather than pressing as hard as possible in one pass. Heavy pressure can make later adjustments difficult.
Find the biggest shadow shapes
Look at your reference from a little farther away. Where does the light side end? Which dark areas belong together? Sketch the boundaries of the biggest shadow groups with very light lines.
Shade those groups evenly at first. Resist the urge to add every small patch you notice. A simple shape with a consistent value often describes the subject more clearly than lots of disconnected marks.
Use edges to describe the form
A rounded surface often changes gradually from light to shadow. Build that transition with overlapping layers and a lighter touch toward the bright side. An edge where one object overlaps another may be much sharper.
Compare the cast shadow with the shadow on the object itself. Its shape helps connect your subject to the table. Avoid assuming that every shadow has the same darkness or the same kind of edge.
Save the strongest darks for the end
Add your darkest accents only after the main values feel balanced. On a mug, that might be the opening, part of the handle or a small area near the base. Keep checking each accent against the reference rather than turning every outline black.
Finish by asking whether the light direction is readable and whether the object feels grounded. Then stop and try another small study. In the studio’s curated lesson, the shading stage offers a clear example you can compare with the earlier construction and outline.