Your first drawing
How to draw a mug, one simple shape at a time
By Draw AI journal · · 4 min read
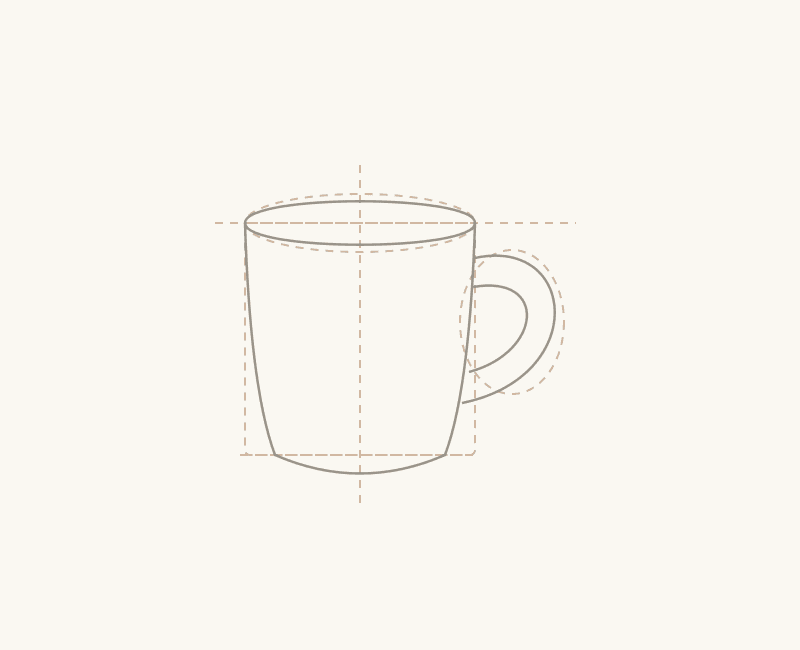
Illustration from our curated sample lesson.
A mug is a useful subject for a first drawing. Its shape is familiar, it stays still, and it gives you a chance to practise curves, proportions and shadows without needing a complicated setup. Put one on a table, choose a comfortable viewpoint and keep your paper nearby.
Start with the space the mug occupies
Before drawing the rim or handle, lightly mark the top, bottom and widest points. Compare the height of the body with its width. These marks give you a small frame to work inside, and make it easier to spot a drawing that is becoming too tall or too narrow.
Draw a light vertical guide through the centre. Add a tapered box for the body and a simple oval for the rim. Keep the pencil pressure low: these are working lines, and you will adjust them.
Look carefully at the rim
The circular opening looks like an ellipse from most seated viewpoints. Find its widest points and notice how shallow or deep it appears. A high viewpoint reveals more of the opening; a low viewpoint makes it look flatter.
Let the ellipse curve smoothly through both ends rather than pinching into points. Compare its width with the body below it. Draw the inside edge only after the outside shape feels balanced.
Attach the handle to the body
Mark where the handle meets the mug at the top and bottom. Sketch its outer curve, then draw the hole inside it. Look at the empty space in the handle as a shape of its own; this is often easier than trying to copy the ceramic edge directly.
Step back and compare the whole silhouette with your reference. Fix the large proportions now, before small details make the drawing harder to change.
Finish with a few groups of value
Choose the lightest area, the darker side of the body and the cast shadow on the table. Build each shadow with gentle layers, keeping the brightest area close to the paper’s original tone. Follow the curve of the mug with your marks if that helps you describe its form.
Leave some construction lines visible if you like them. The aim of this exercise is to understand a form, rather than to erase every sign of how you found it. Try the curated mug lesson in the studio to see construction, outline, details and shading side by side.